
Thanks Harry4WD is definitely a consideration for the future, I'll see how I'm looking for weight when I finish my current design.
- FRA
- Forum
- Robots
- Events
- Media
- What's New?
All times are GMT. The time now is 23:51.

Thanks Harry
Liking the design, looks like an industrial vehicle like a fork lift or something.
I have three ideas for the lifting part of my four bar mechanism and was after some opinions/feedback/improvements. Sorry for my limited CAD skills lol
First and original idea, long forks. Originally I wanted to be able to pick up and drive around with other robots but watching videos of robots since then it seems that it would more than likely tip forward like Big Nipper does. I've tried making it as wide as possible/sensible and placing the heavy parts toward the back of the robot but until I can make the arm it's all just guess work whether it will work. I also thought that if they were long they might have a greater reach than a spinning weapon would so would be able to turn over a spinner before the disc got close enough. I am concerned that they would get bent though.
Second idea is to have the forks but to have them shorter so they'd be less likely to bend but wouldn't have the reach advantage of the longer ones.
Last idea is the more standard Biohazard/Storm 2 type end which would propably be stronger and easier to make but doesn't look quite as cool as the forks.
What do you guys think?
I don't know enough to say which would really be best, but you seem to think the last design is probably most practical?
I think winning, looks cool.
One thing on the forks is you might want like a small triangle support or another bar to support where the bar comes out of the front. At the moment it looks like it would be particularly vulnerable to having the front bars bent where they are attached.
If you intend to fight spinners with the design, unless the little wedges on either side at the front are seriously tough, those corners are spinner heaven. Maybe something like this?

looks good, if it was me thou definatly go 4 wheel drive as robots with drive wheels at the front are dreadful to drive! or perhaps have wheels in the middle
Thanks for the feedback guys, lots of things to think about. See if I can squeeze some more motors in
Fantastic design, I like the shape with the wedge rather than forks (spinners and so on).
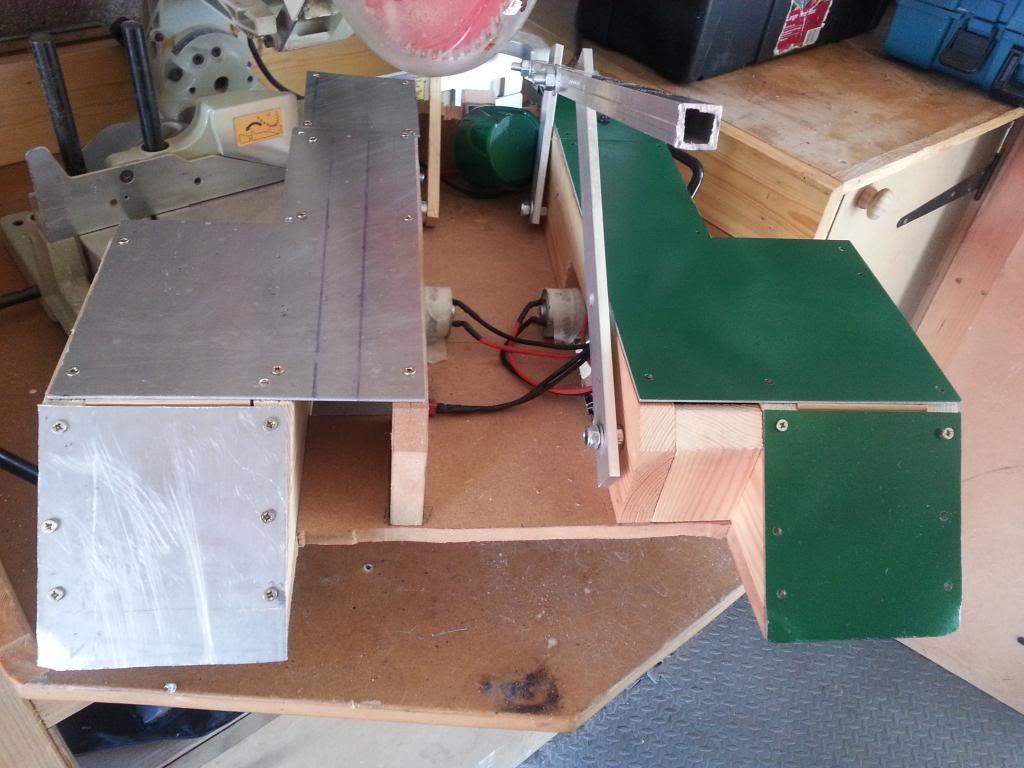
Time for another update, it's a been a little while.
Following fellow roboteers' advice, I have moved the wheels to the middle of the robot and is a lot easier to control now so thanks! (I considered 4WD but with the current design there isn't enough space with the actuator in the position it's in).
I've moved the removable link and power LED to the top as I want to but diagonals to join the wheel sides to the back for a bit more protection for the gubbins (if that even makes sense, so it would look like the CAD on not the 'T shape' it is at the moment).
I've also made some armour out of the ally off cuts I have and had a go at painting to see how my paint looks. I'm liking the results
I drilled out the hole in the actuator from M6 to M8 as it kept bending the M6 bolts.
It can now successfully self right with just the front bars (not been able to test it with the main lifting bar yet, hoping it will self right like Biohazard did back in '96).
Actually have a question, is there a better way of attaching the armour rather than screws? Or will the screws be adequate?
And that's it for the moment, should be getting more ally bar in the post tomorrow so will be able to make the other arms of the lifter.
Here's some photos for your viewing pleasure
 Posting Permissions

 Reply With Quote


Bookmarks