Register To Comment
Page 2 of 5 FirstFirst 1234 ... LastLast
Results 11 to 20 of 42

Thread: Hatchet 2

  1. #11
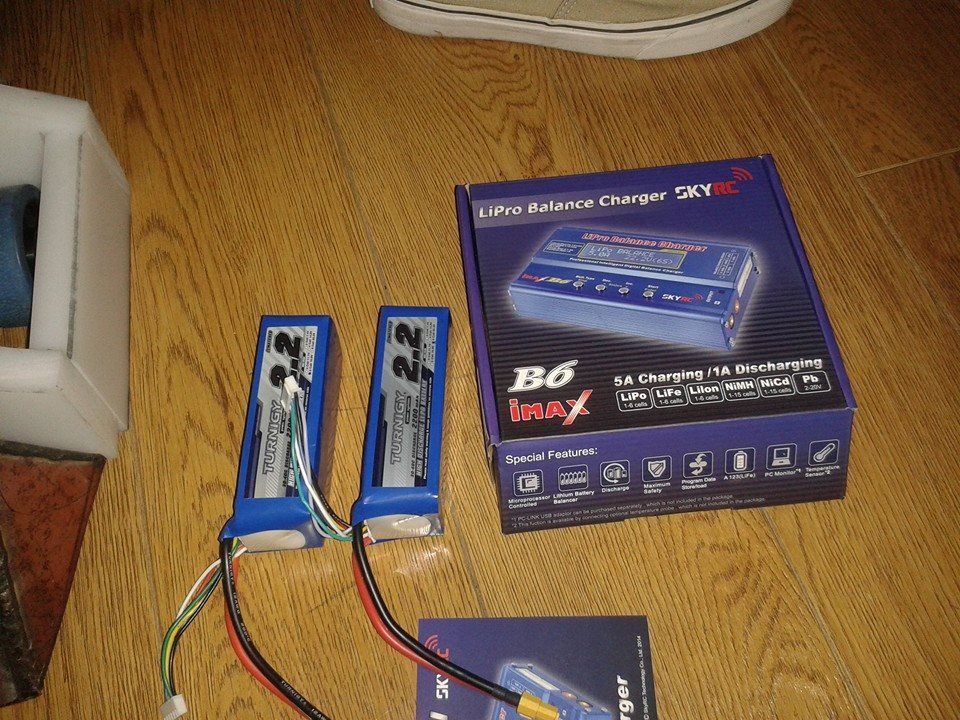
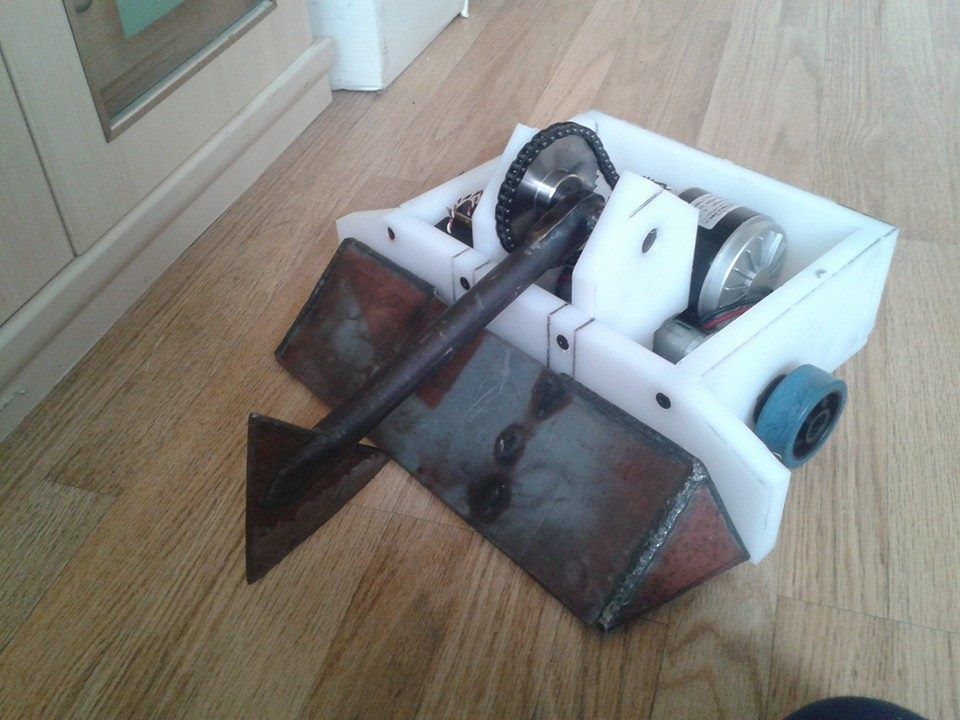
    No need to apologise, you learn by asking. The big pulley I got from Harry at the champs last year, it needs modding to make it fit a 20mm shaft but that won't take too long. The pulley for the scooter motor i'm getting from http://www.beltingonline.com/ and I'll get them to bore out the centre hole to 8mm to fit the output shaft of the motor. I'll be using the same 30a Electronize I used for the axe last year, although I have a 60a victor as a spare.

  2. #12
    Got the drill motors for the drive yesterday and set about hacking them into usable drive motors, I'll include the link for anybody who wants it because they were a great little find. They're bosch psr 18v drills which are usually around £60 brand new and i got them for £12.50 each, granted there's no battery included but if you're only after the motor and gearbox it's no problem. A couple of things i've discovered about them, firstly they don't have all metal gears which although annoying isn't too much of a problem, they are really compact..like stupidly compact and the output shaft is tiny which means it's very unlikely to bend. The motors are 600 sized Johnsons rather than your standard cheapo chinese 550 which considering the price is even better, also the build quality seems pretty solid, better than standard drills anyway. Some bad points though, the GB and motor are not attached yet the holes to mount the motors are there, it's like they forgot to put the screws in.....weird right? Also the chucks are on TIGHT, after some advice and a fair bit of head scratching i figured out a pretty fool proof way of removing them, you take the gearbox apart and get a round piece of steel in some pliers and wedge that in between the pins on the carrier plate, then you put a fairly big allen key in the chuck and twist the two in opposite directions, takes a fair bit of force but it does get the chucks off. Wow i just wrote a whole essay on my drive motors, anyway for any that are interested here's the link http://www.ebay.co.uk/itm/331196477100

    And some pictures

  3. #13
    Those look pretty good for drive! I'll be interested to see how they run.

  4. #14
    Starting bolting the body together today, i forgot how much tapping into Hdpe sucks. I managed to duff up on of the holes for one side panel so i'll have to remake that. Other than that everything is straight and the whole chassis just seems so much stronger this time around, I've also brought a piece of 5mm 6082 Alu to brace the rear corners with seeing as how the 3mm cheese grade i used last year held up so well. If all goes to plan i should have a completed chassis by early next week.


  5. #15

  6. #16
    I've got a big pull down circular saw that I use to cut hdpe, means I can get it neat and fairly accurate. If you ever need any bits cutting drop me a PM, as long as you supply the material and pay postage I'm more than happy to do it.

  7. #17
    More progress on Hatchet, managed to get most of the body bolted together before i ran out of bolts (well that was silly wasn't it). I've also managed to somehow lose any kind of countersink bit so until the new one turns up they all just kind of stick out. Other than that though it's going together really well, i might actually have a working robot well before Whitwick which will be it's first outing.


  8. #18
    Updates!

    It's been a productive week or so for me, after finding out that Hatchet is in the World Champs i decided to throw myself into finishing it so i have plenty of time for testing, but first i needed to buy the old robot back from Alex...so that's what i did. Ian was kind enough to drop it down on his way to Robochallenge and i quickly set about removing anything of use, this included the axe, scoop, 3 30a Electronize and a Park BEC. I then decided to leave the old girl alone and focus on the new one, i ordered a crap load of parts, 2 2200mah lipo's ( 5 and 6s), 2 new 8mm sprockets (8 and 40 tooth), some heavy duty 8mm chain, a brand new 300w scooter motor and an Imax B6 charger. With my bank account feeling the full force of a robot induced craze i set about working on the actual robot, as i'm still waiting for a few bits and pieces to come i haven't got as far as i had hoped but Hey 3 months is loads of time right......? The drives have been mounted, one bulkhead has been cut to accommodate the axe motor and all holes are thoroughly counter sunk. If you managed to sit through all of that well done you.....here's some pics for your trouble.


  9. #19
    Huge amount of progress today, got the scooter motor and axe set up mounted and finished off the electronics. The electronize for the drive may be going in favor of some borrowed Tz85's from Hardwired 2 (thank you Matt). I did manage a little axe test at 5s and a couple of things became apparent, the weapon is much more powerful than last year causing the machine to jump violently when it fires, the sprocket on them motor however has a habit of coming off, there's a grub screw holding it on and it keeps letting go. To hopefully fix this i've ground a flat on the shaft and used massive amounts of Loctite to hopefully keep the screw in place.


  10. #20
    If the grub screw still fails, try drilling & tapping the hole for a larger screw - the bigger the better! Also use a fine pitched thread as they are harder to work loose.

Register To Comment

Posting Permissions

  • You may not post new threads
  • You may not post replies
  • You may not post attachments
  • You may not edit your posts
  •